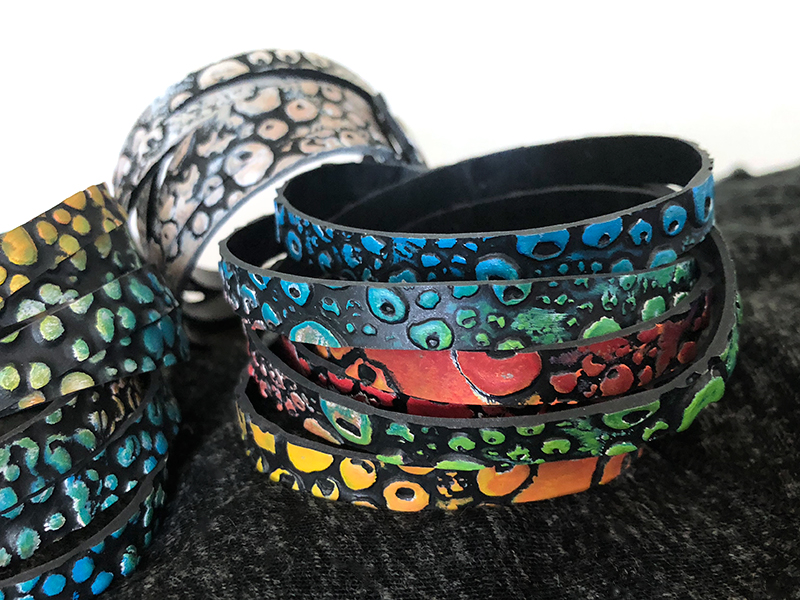
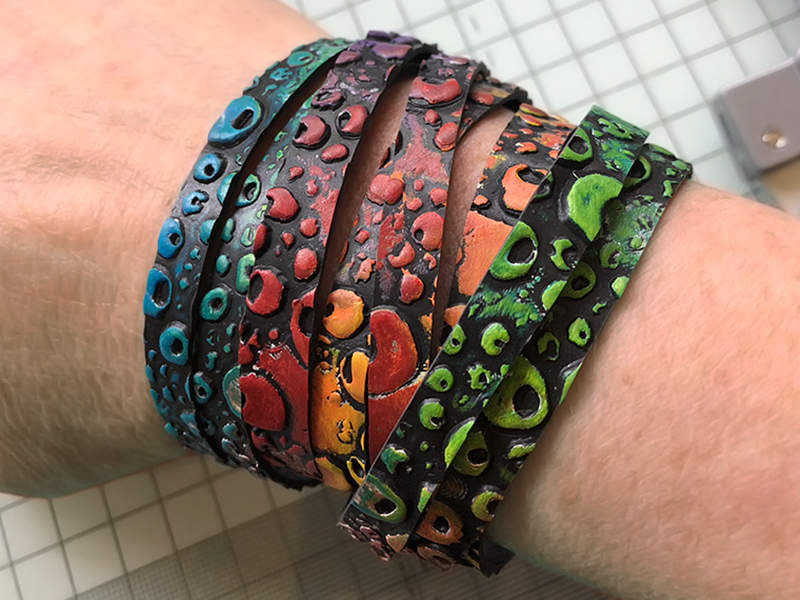
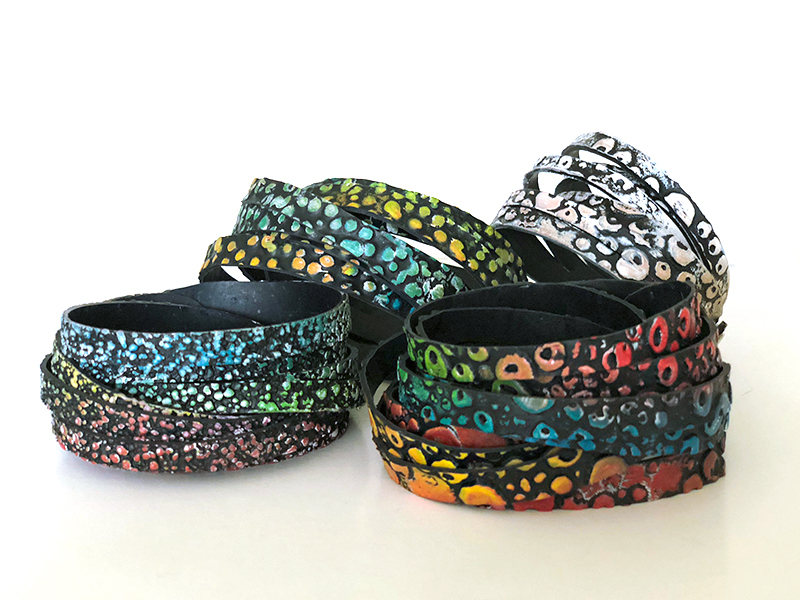
Wrap Bracelet
Material:
• 1 pkg black, flexible clay (like Sculpey Souffle or Sculpey Bake and Bend)
• Texture of your choice (I used my own texture – available in my Etsy Store)
• Oil or Acrylic paint (I used Genesis Heat-set Oil Paint)
• Long ruler
• Sharp scalpel
• Hole punch
• 12 mm metal Snap/Push Button set
Condition black clay and roll it into a long strip. I rolled it out on a #4 setting on my Atlas Pasta machine. The strip should be about 42 cm long and approx. 40 mm wide.
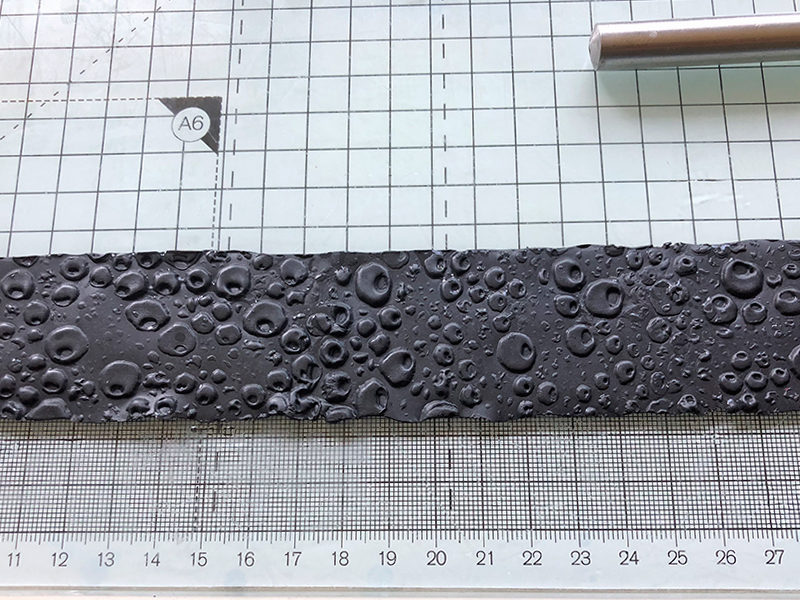
Texture the strip with the texture of your choice. I used my own texture available in my Etsy Store.
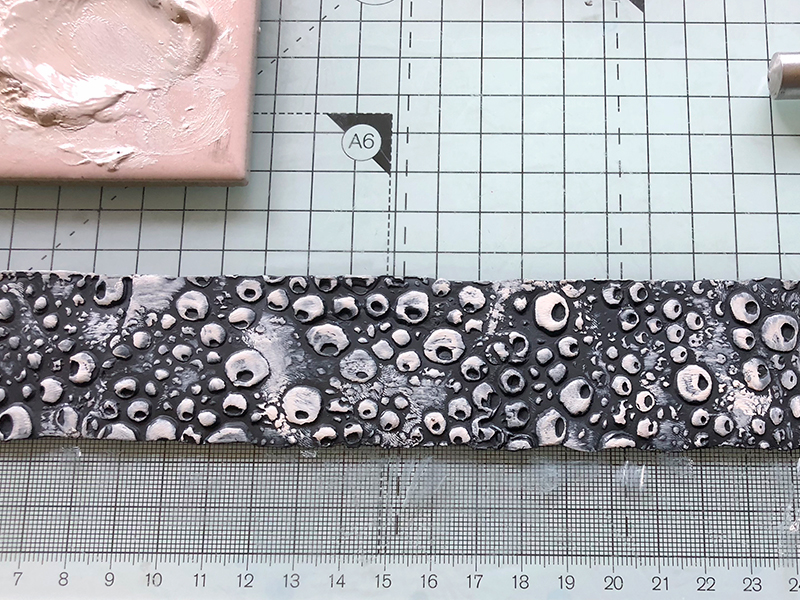
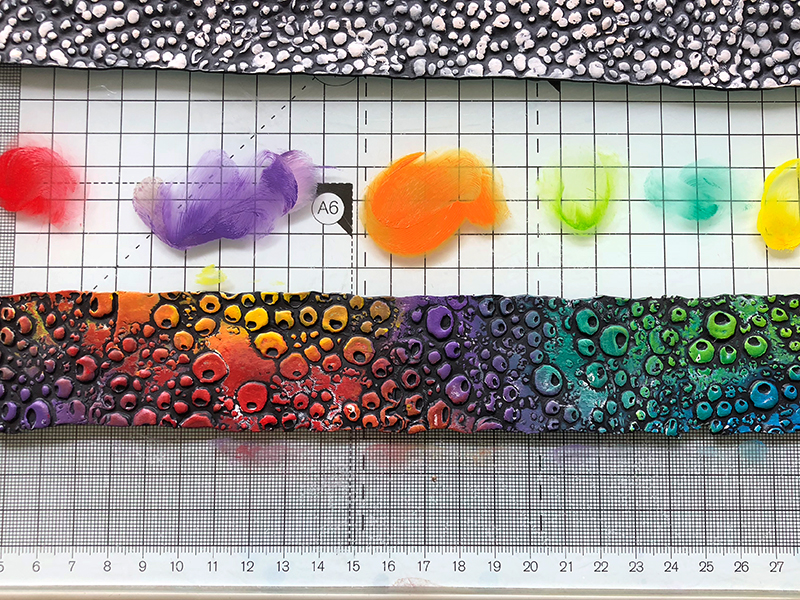
With your fingertips apply white Oil or acrylic paint onto the raised areas. Cure the strip for about 30 minutes at 130°C.
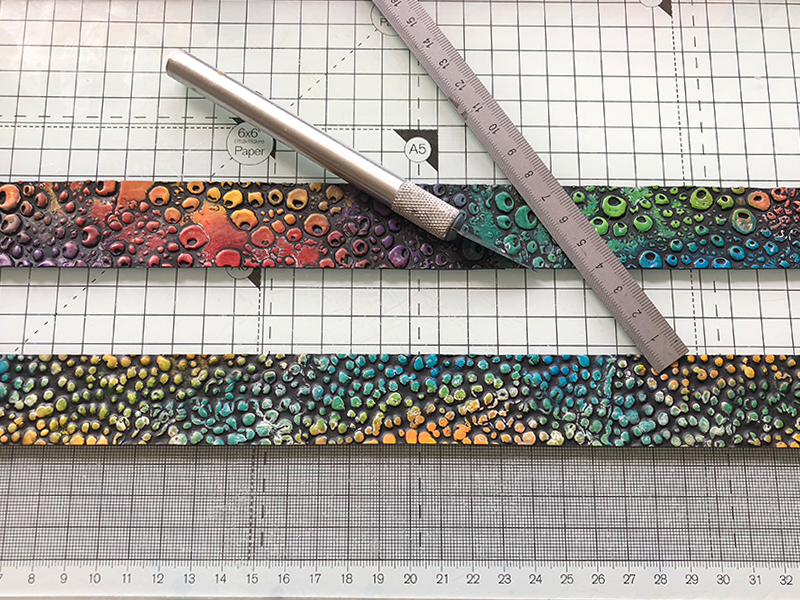
Once the strip is cold, use the long ruler and the scalpel to trim the upper and lower edge. The strip should be about 30 mm wide after trimming.
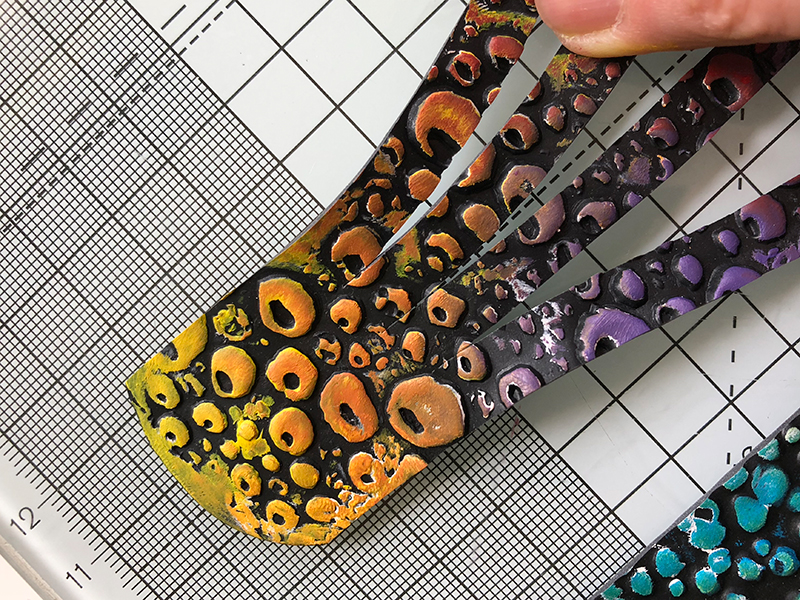
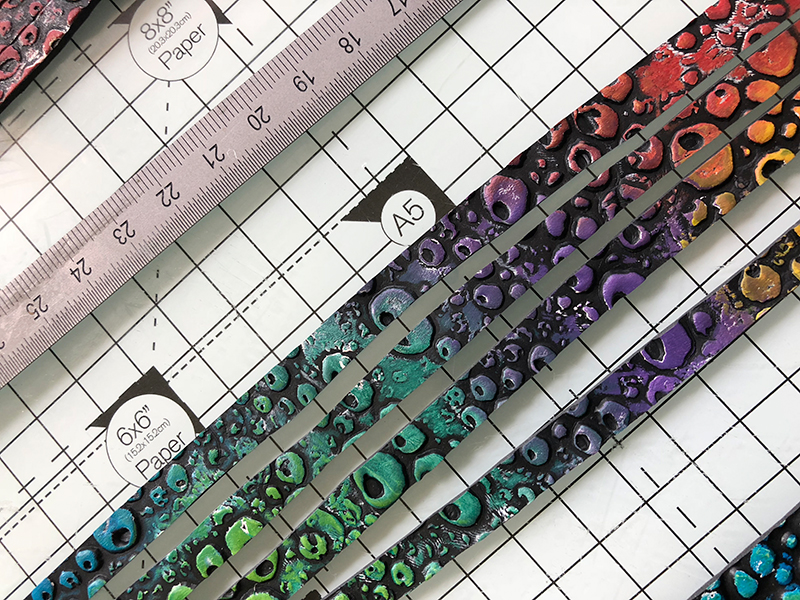
Now cut the inner part of the strip 3 times lengthwise. The cuts should start and end about 30-40 mm before the left and right side end of the bracelet. You can do that using the ruler and the scalpel or – like me – eyeball it and cut without a ruler.
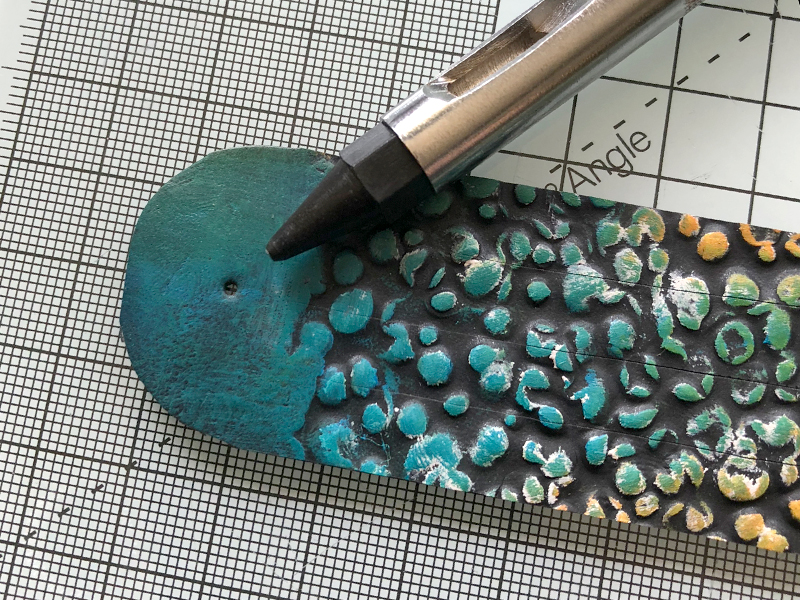
Punch a 3 mm hole into he center of the uncut portion of the bracelet. If you don’t have a hole punch you can make the hole with a small cookie cuter before the first baking.
If you like my tutorials please also check out my Etsy-Store.
© Bettina Welker, 2018
You are allowed to share this tutorial freely but please give credit and link back to this page.
Also please DON’T TAKE MONEY when you teach it to another person. It’s a free tutorial, so please keep it that way and teach it for free!
Thank you!

